
My 13 year-old would live off French onion soup if it was allowed. You would think making homemade French onion soup would be easy. Apparently not for me. Nothing I have made over the years compared with restaurant quality French onion soup. I did the only thing I …
All of MMCW’s wonderful recipes!
Recipe Box
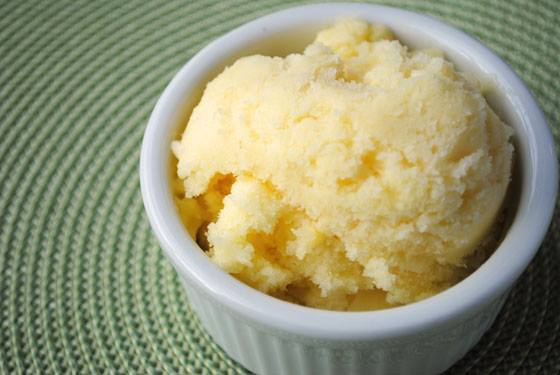
How to Make 2 Ingredient Pineapple Sorbet
When I say 2 ingredients, that’s exactly what I mean. Just pineapple and a few mint leaves will combine to create a beautifully refreshing summertime pineapple sorbet the entire family will love. 1 large can (in its own juice) or half a fresh pineapple A few …
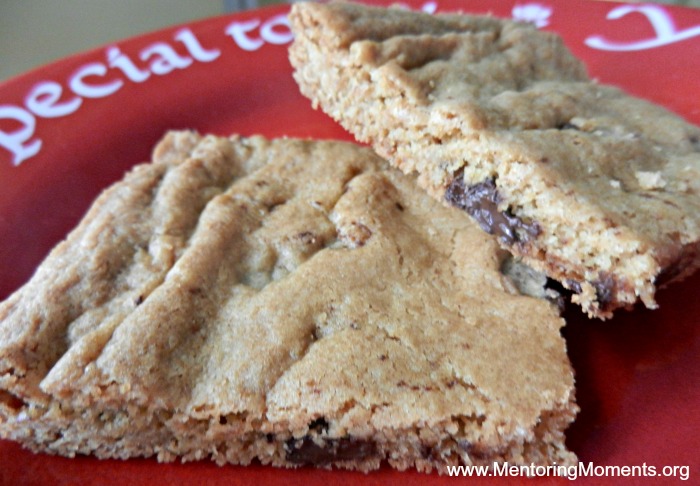
Gluten-Free Chocolate Chip Bars
* Affiliate links included. When I began my gluten-free journey last year, I mourned the loss of cookies, cake, and bread. My wonderful son surprised me with the yummiest treat ever — gluten-free chocolate chip cookie bars. Friends who tried them could not tell the difference …
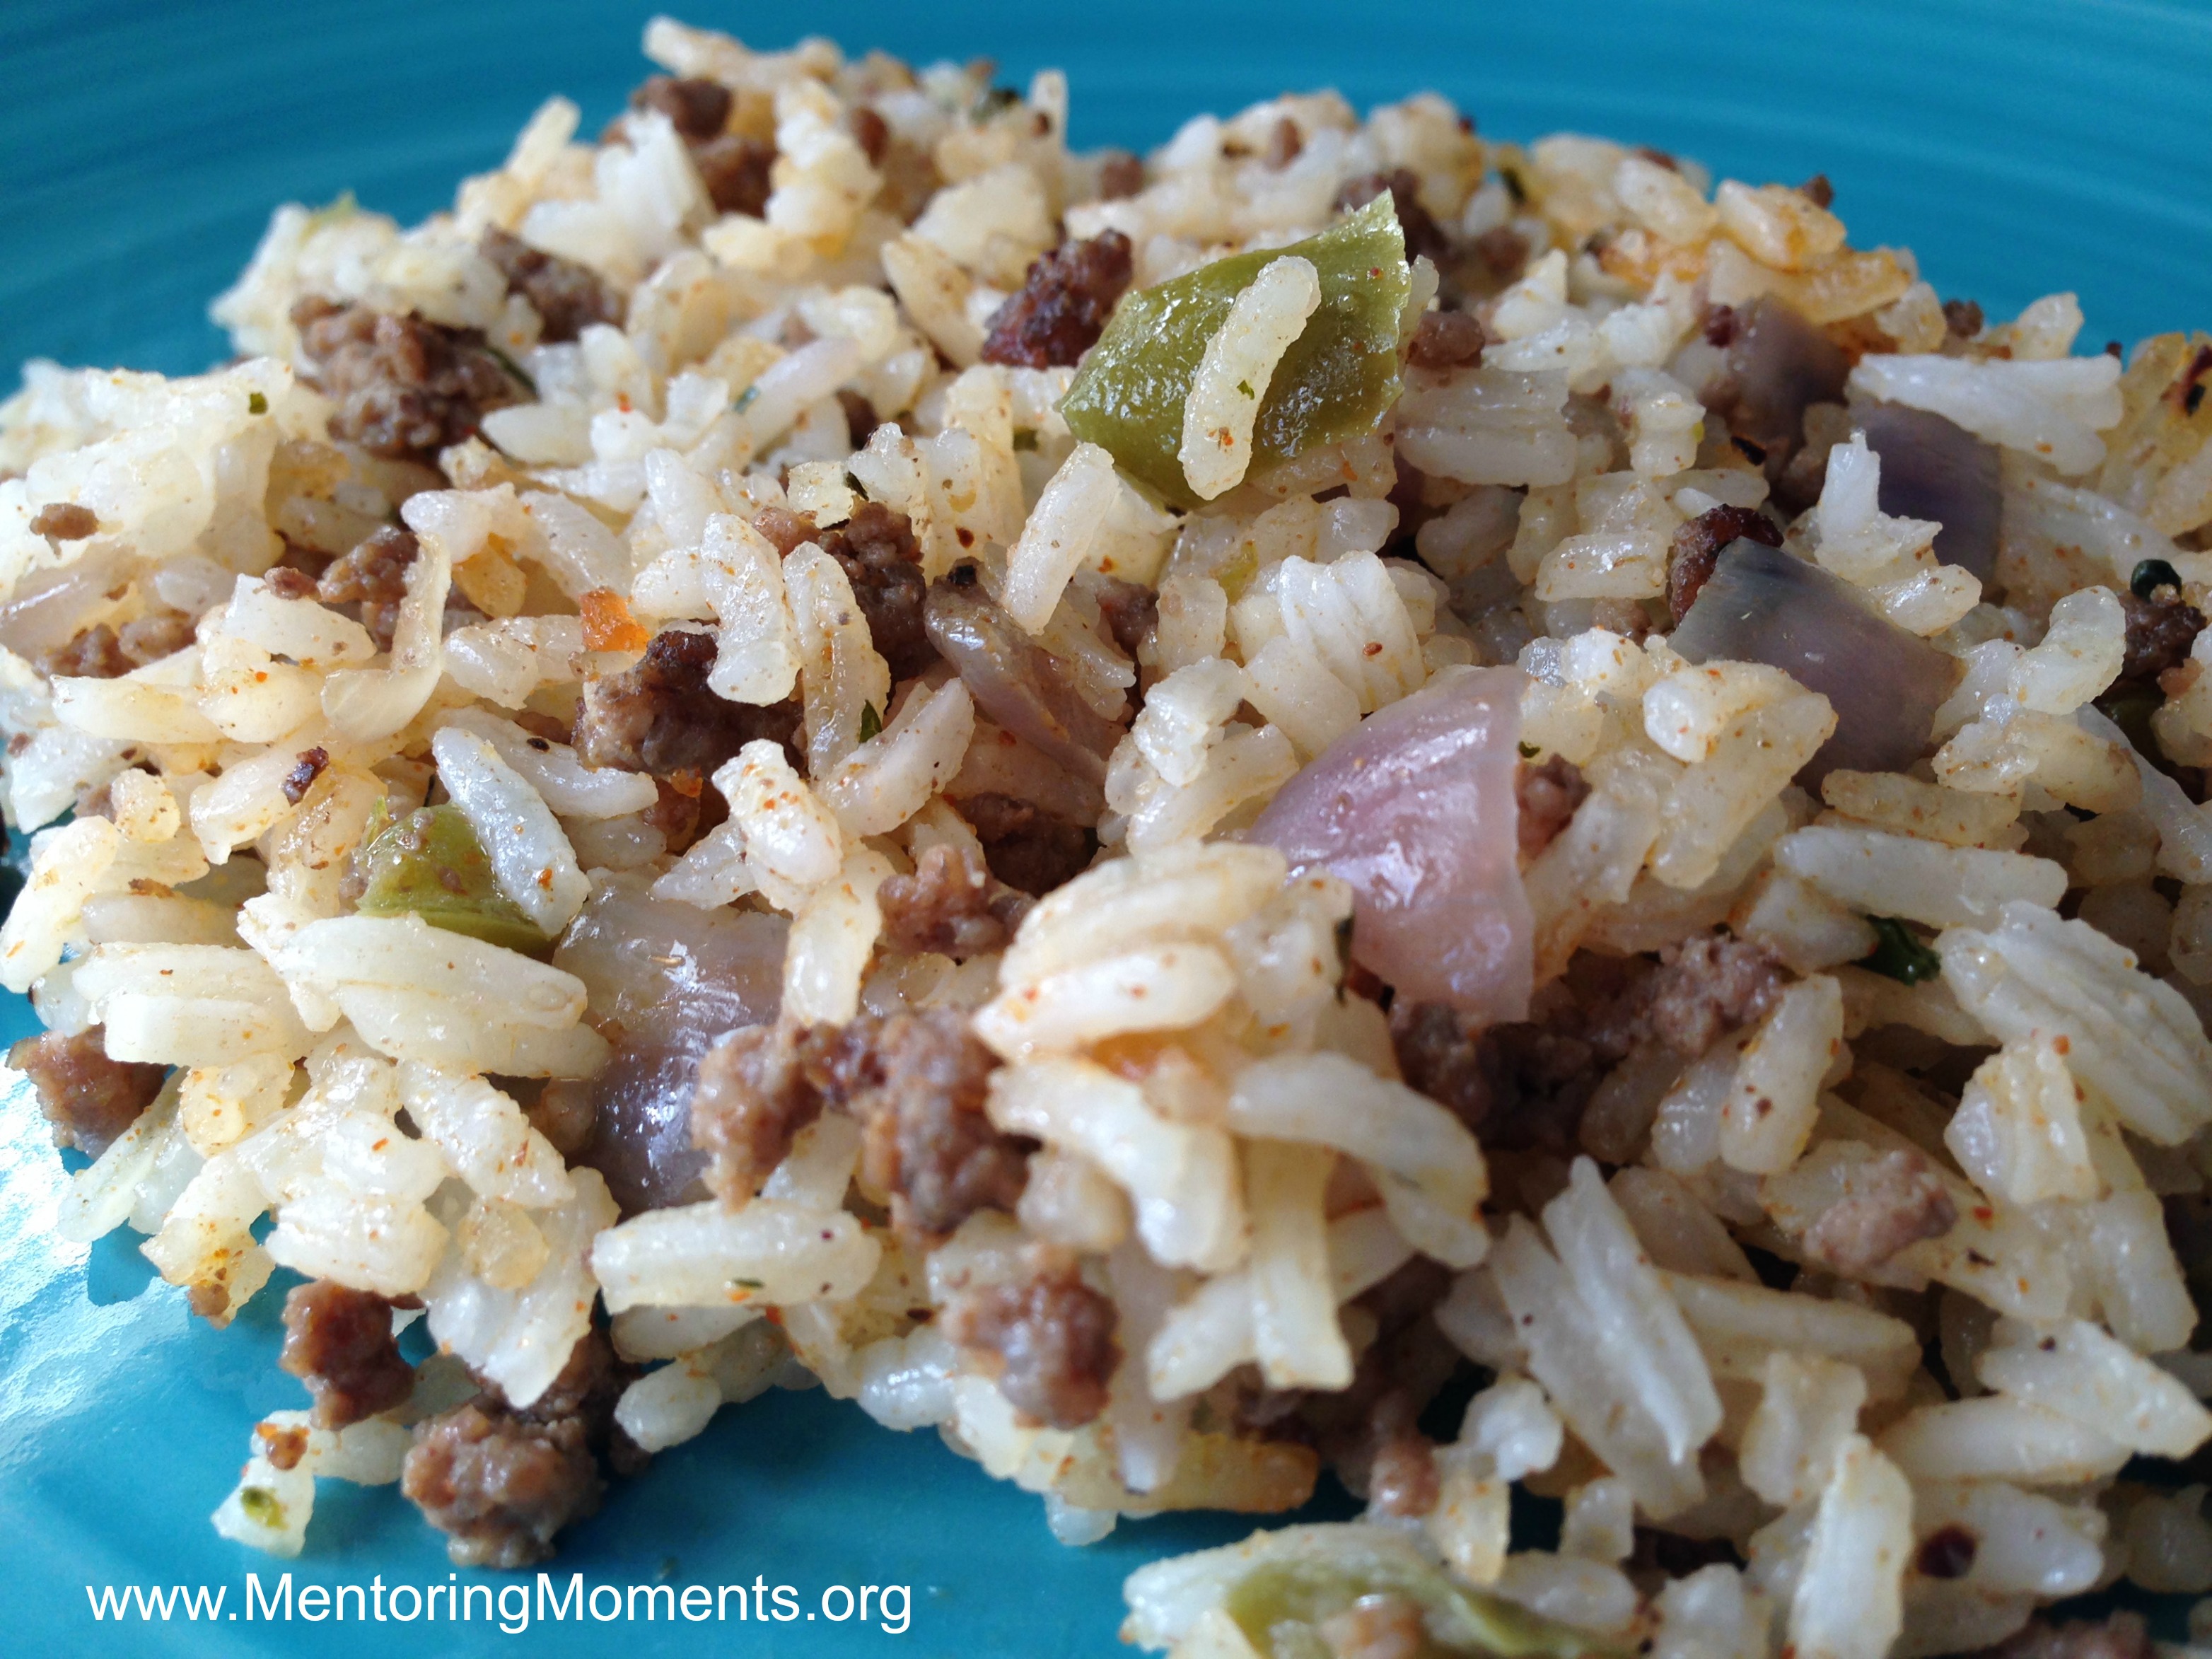
Lunch Lady Dirty Rice
*Affiliate links included. In grade school I did not know the name of the dietitian over the lunchroom. I was not alone as all of my friends and I called her the lunch lady. Now, as a homeschool mom, I’m the lunch lady and let …

Game Day Buffalo Chicken Sliders
Game days hold nostalgic feelings for my husband. It was a big event in the Hughes house growing up, and he still enjoys celebrating a big game with food to this day. In our house, the sports seasons have recently begun and generally last all …
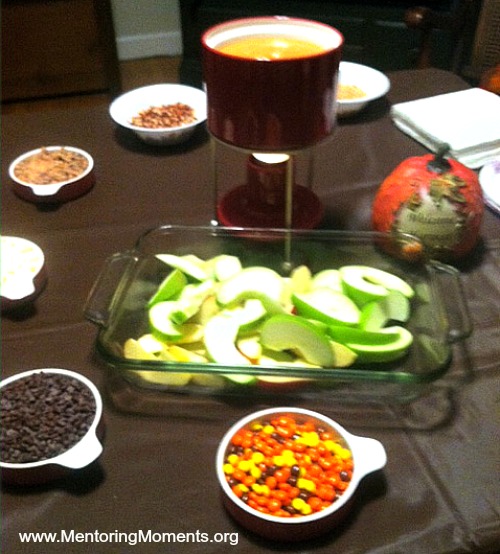
How to Create a Caramel Apple Bar
For Thanksgiving or Christmas, setting up a caramel apple bar will be the hit of any gathering. It’s one of those interactive desserts your guests will be talking about for months! How to Create a Caramel Apple Bar * Cut Apples into wedges then insert …

Pilgrim Hat Cookies
I have one dessert that has been a tradition in my house for about the past three years. I wish I had found the idea when my boys were little, but it was just in time to make for my grandkiddos. Everyone enjoys them, no matter their …
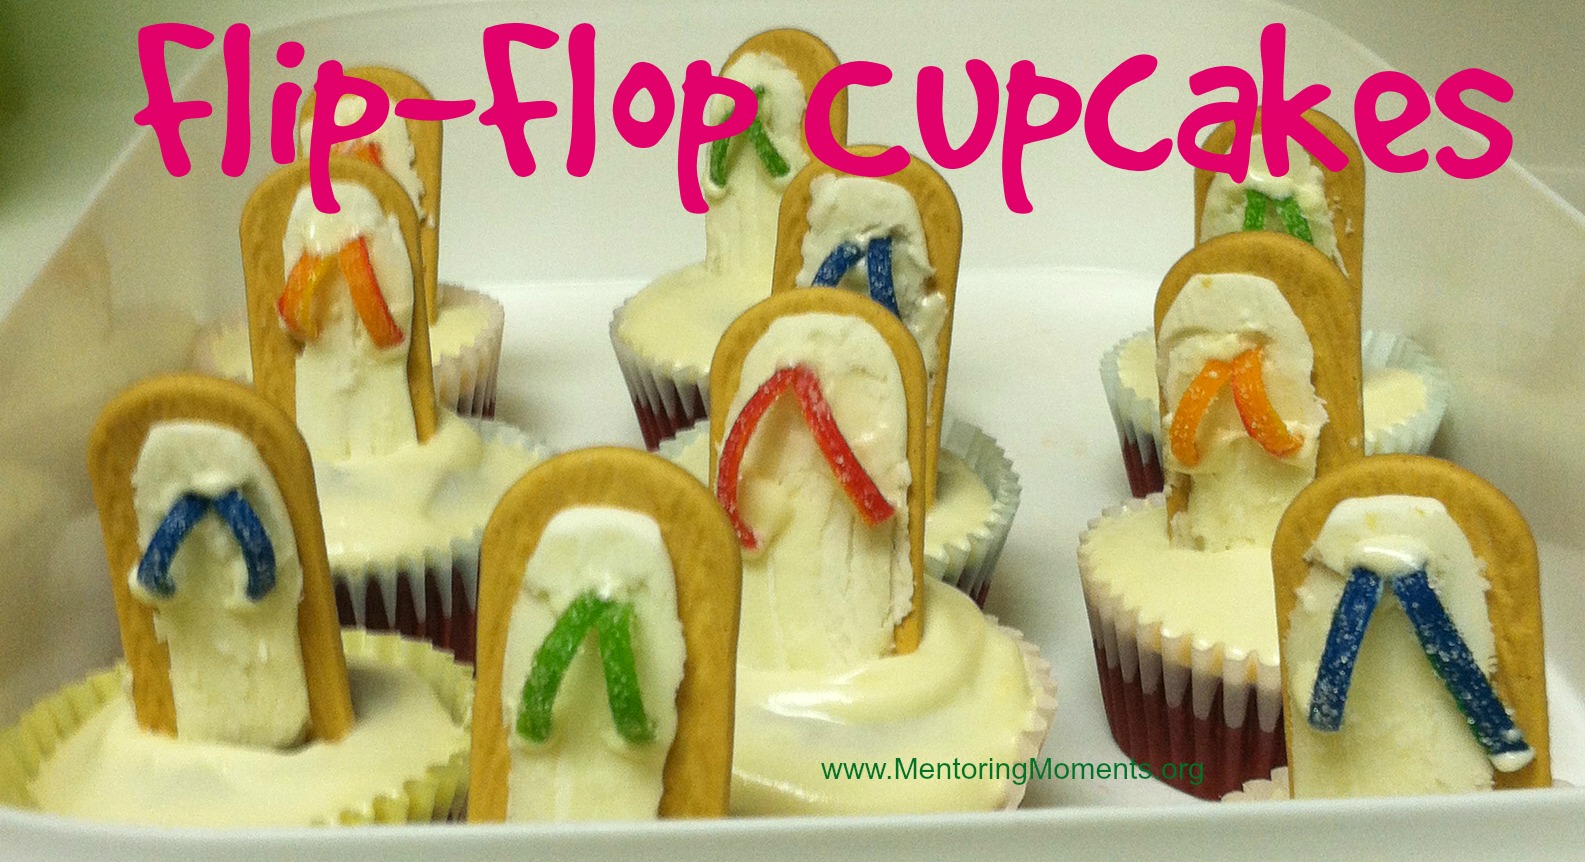
Flip-Flop Cupcakes
Inspired by yesterday’s post, Walking it Out, today I want to share a fun summer dessert, Flip-Flop Cupcakes. The kiddos will enjoy them and, let’s face it, the adults will too! You will need… Cupcakes (already frosted) Keebler Vienna Cookies Air Heads Xtremes sweet and …
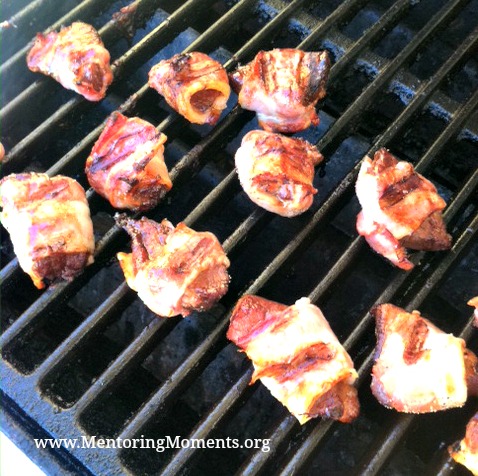
Grid Iron Grillers
Grid Iron Grillers are perfect for a Father’s Day cook-out. Simple, easy, and best of all…Dad will love them! 1 to 2 lbs. sirloin steak 1 lb. bacon 1 cup Dale’s steak seasoning (you can use any marinade) Soak steak in marinade for an hour …
Easter Nests (Chocolate No-Bake Cookies) & Other Delights
We naturally think of giving to others at Christmas. But Easter is another opportunity to share with others and teach children to give. Do you have a favorite recipe? Why not prepare it as a family and make a surprise delivery to a neighbor, hurting …