People dehydrate for lots of reasons–to prepare for a rainy day, to preserve a harvest from the garden, to create a gift from their kitchen or to store large amounts of food in a small place. All of those reasons apply to me. That little dehydrator of mine rarely stops. I’d like to share some of my joy with you in this series on dehydrating just in case you’ve ever thought you might want to try your hand at preserving delicious food from your kitchen.
When I decided to purchase a dehydrator, I knew I wanted to use it for more than just a couple of things. Kitchen appliances are cumbersome to work around and guilt sets in when they’re not used to their potential. So I set out to learn everything I could and I’ve become impressed with how much can be accomplished. You’ll need equipment, but it need not be expensive. Look around a little and you’re bound to find a dehydrator at a garage sale or thrift store. You’ll also need a good stainless steel knife and chopping board.
Dehydrators are available with square or round trays. I have one with square trays but both work equally well.
The possibilities of what you can do are endless so we’ll start simple and move on from there.
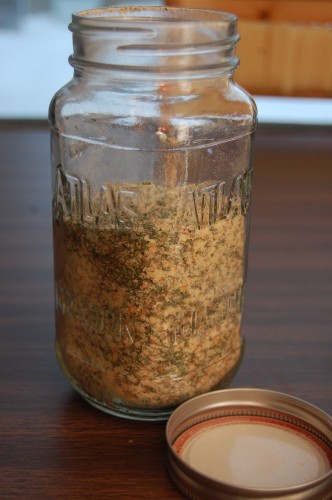
How often do you see breadcrumbs and think: dehydrated food? An overabundance of fresh bread quickly turns into a usable ingredient in your kitchen pantry. I frequently make Italian-seasoned bread crumbs using the organic herbs grown in my garden. Store your fresh crumbs in an air-tight jar and use them for a crunchy topping on a casserole or in a meatloaf.
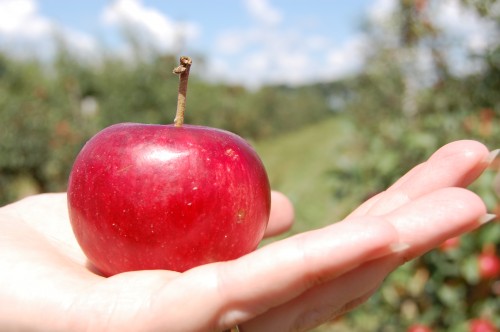
Another great food to learn on is the apple!
When autumn arrives and your favorite variety is ripe, buy a few pounds and prepare a healthy treat no one will refuse. I bought more than a bushel last year and I could have bought more. They are the perfect snack for road trips and are wonderful to cook with during the off-season.
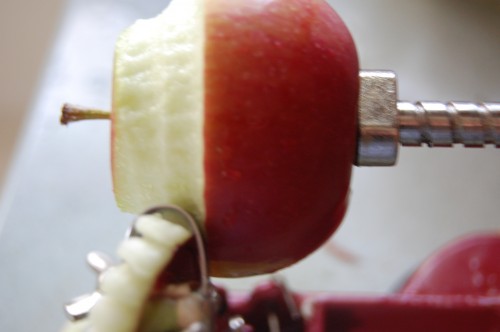
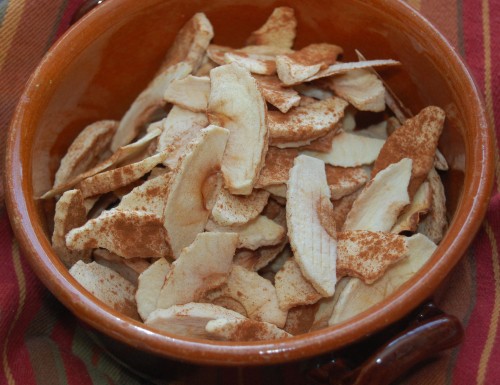
Apples can be dehydrated with the skin on or off – your preference. Wash, core and slice the apples. When slicing any food for dehydration, all slices must be cut as uniformly as possible. Apples should be ¼ to ½ inch thick. Briefly soak the slices in a lemon bath. I suggest ½ cup of lemon juice to 6 cups of water. This prevents the natural browning that commonly occurs.
I save the peelings and dehydrate them as well. They’ll go into my homemade tea bags as a base for apple cinnamon tea. After dehydrating the peeling, I put them in my blender and puree them. I simply store them in a jar until I’m ready to put together the tea. Place the apple slices on your trays without overlapping them. The small space between slices allows for air flow and even dehydrating. I like to lightly sprinkle them with cinnamon (no sugar!) though I generally do half with cinnamon and half without.
You can dehydrate apples at 130-135 degrees or as low as 115 degrees. The lower the temperature, the longer the drying period. The lower temperature will require more time but gives you a finished product that is still considered “raw food.” Since raw food is a big subject, I’ll simply state that as a family we are consciously making an effort to include more raw “living” foods in our diet for health benefits. Dehydration will allow you to preserve many foods still in their raw state.
The exact drying time will always vary based on how many trays you have prepared and how thickly you’ve cut your food item. Do not cut thin slices simply for the sake of a quick dry. Do so because you desire something more akin to a crispy cracker. Thicker apple slices are slightly more chewy.
Warning: While you are dehydrating apples, your house will smell like the House of Homemade Apple Pies, your friends and family will want a constant supply (think: Thanksgiving and Christmas homemade treats!) and you’ll be tickled pink (or any other shade of red depending on you apple variety) to see your loved ones eating a snack that is GOOD for them!
Drink plenty of water when eating dehydrated foods. Also be aware, you’ll eat a lot more fruit in dehydrated form. Are you ready to get started on a new adventure? Join me again soon for more quick lessons in preserving quality food for your family.
***When rehydrating your apples, some water will remain after the apples have soaked up most of the liquid. It isn’t just water anymore. It is now the makings of a lovely tea. Pour the water off by straining into a mug, add a touch of honey and relax while the bread is in the oven. It’s like your own little reward built right into your cooking!
About Jan Nellis
Jan Nellis is a happily married mom of five children, three of whom are still at home. She spends her free time rediscovering the lost domestic arts with an emphasis on health issues. An avid quilter, crocheter, hand-spinner and cook, her desire is to rekindle the ways of her grandmothers, blessing her friends and family. She has spoken at women’s groups on forgiveness, following God's plan for your life and the joys of living with God. She currently blogs at www.atinylittleripple.blogspot.com.


